How To Customize A Premium Squarespace Template
And why most DIY designers do it completely wrong

Almost every new business owner starts out with a website created from a template. Your first and second and probably third website iteration will be based on a template, and that’s totally OK. There’s no reason in spending hundreds of dollars on web developers before you fully validate your business idea and start making money.
In my own journey as a designer and a small business owner, I learned a thing or two about website templates. I used to spend hours on sites like Envato Market browsing for the perfect website theme for my new business idea. It was in an era when page builders weren’t a thing and I was a journalist, not a designer (Yes, I made my first crappy WordPress website back in 2012).
Many years and hundreds of custom and template-based designs later, here I am running my own Squarespace template shop.
There are really simple rules you can follow to customize your website template, regardless of your starting point. Use these principles to tweak the design of a basic Squarespace template from their default shop, or to customize a premium third-party Squarespace template, like one of the templates we have in our shop. Gosh, you can apply these principles to ANY template!
A proper way to look at a website template
If you have no prior design experience, you are probably looking at the wrong side of things when you see a website template.
All website templates have perfectly curated photography - it’s placed strategically to play very well in a selected layout. In a template, there isn’t too little or too much dummy text - just enough! There’s a limited number of items in a menu. The logo isn’t too big for the layout - everything is balanced.
Now, you should think about your own content. Does it fit the style of the selected design? Will you be able to recreate this mood with your own imagery? Are you willing to cut down the text so it fits the layout and doesn’t make these beautifully balanced sections break?
While these are rhetorical questions, here’s one thing that I learned by customizing many templates in my early days as a web designer: There isn’t a template that works perfectly for what you think you might need. You gotta make it WORK by strategically shaping your content, otherwise, there’s no point in starting with a website template at all. Just start from scratch!
Check out Free vs Premium Squarespace Templates: Why Upgrade to a Custom Template
The number one mistake people make when customizing a Squarespace website template
People buy a Squarespace template and here’s what happens next: They will immediately change the fonts in the Squarespace admin, and put up their logo on top of the template’s dummy content.
Then most people will start writing content in Squarespace itself. They will change sections, add more dummy sections from the Squarespace default library, and keep playing with the site. Guess what? This is the most ineffective way to create a website from a designer template. “Playing” with the template can suck up your time and energy with no result. Plus if you change the settings, it will be harder for you to go back.
The biggest mistake people make is using Squarespace as a design tool, while it’s clearly an implementation tool. If you want to play with Squarespace, create a separate free trial and keep changing fonts & colors. Doing that in a premium template is a waste of your money because you could’ve done the same by selecting a basic template from Squarespace’s default template shop.
Here’s what creates a premium Squarespace template:
Curated photography that follows a certain style
Typography options: all headings and paragraphs create a visual hierarchy; every typographic element has a purpose
Colors create depth, contrast, visual hierarchy
Texts have a certain length to emphasize and embellish the layout. Text is just one of the design elements, really
Graphic elements, such as lines, drawings, shapes emphasize the style
In order to customize the template for your own needs, you need to learn how to leverage all these assets. All premium Squarespace templates from our shop include a source file that you can use to edit your graphics and photos. Plus you also get access to tutorials that teach you how to use the graphic design software / Squarespace 7.1 masterclass that teaches you how to create your website from scratch or edit a premium website template.
You need to do the work before you jump on Squarespace. Here’s the gameplan for you if you’d like your templated website to look like a million bucks.
Start by curating your photos in style
Consistent photography defines the success of your design. If you could take a website template and change only one thing, that would be pictures. Swap the pictures with your own and rewrite the copy - and you’re done!
Start by selecting a group of pictures that you will use on the website. The template’s images give you an idea for the style - color, mood, elements.
Here are some secrets for curating photos:
Use images that have similarities in colors, textures, patterns.
If you have only one image of yourself (like a portrait), curate the rest of the images to match the style
Add images that contrast the images that you already selected. For example, if you use images that show a lot of small details, add some general plan pictures.
Add images that show natural textures: sand, leaves, wood. Natural elements always spice up the design.
Your brand images should be consistent but not boring. To achieve that, use images that have a lot of white space next to busy images that have a lot of small detail
If you struggle to find consistent pictures, edit the ones you already have and add some stock photos. Color-edit your pics using Adobe Lightroom, Photoshop, or a similar app.
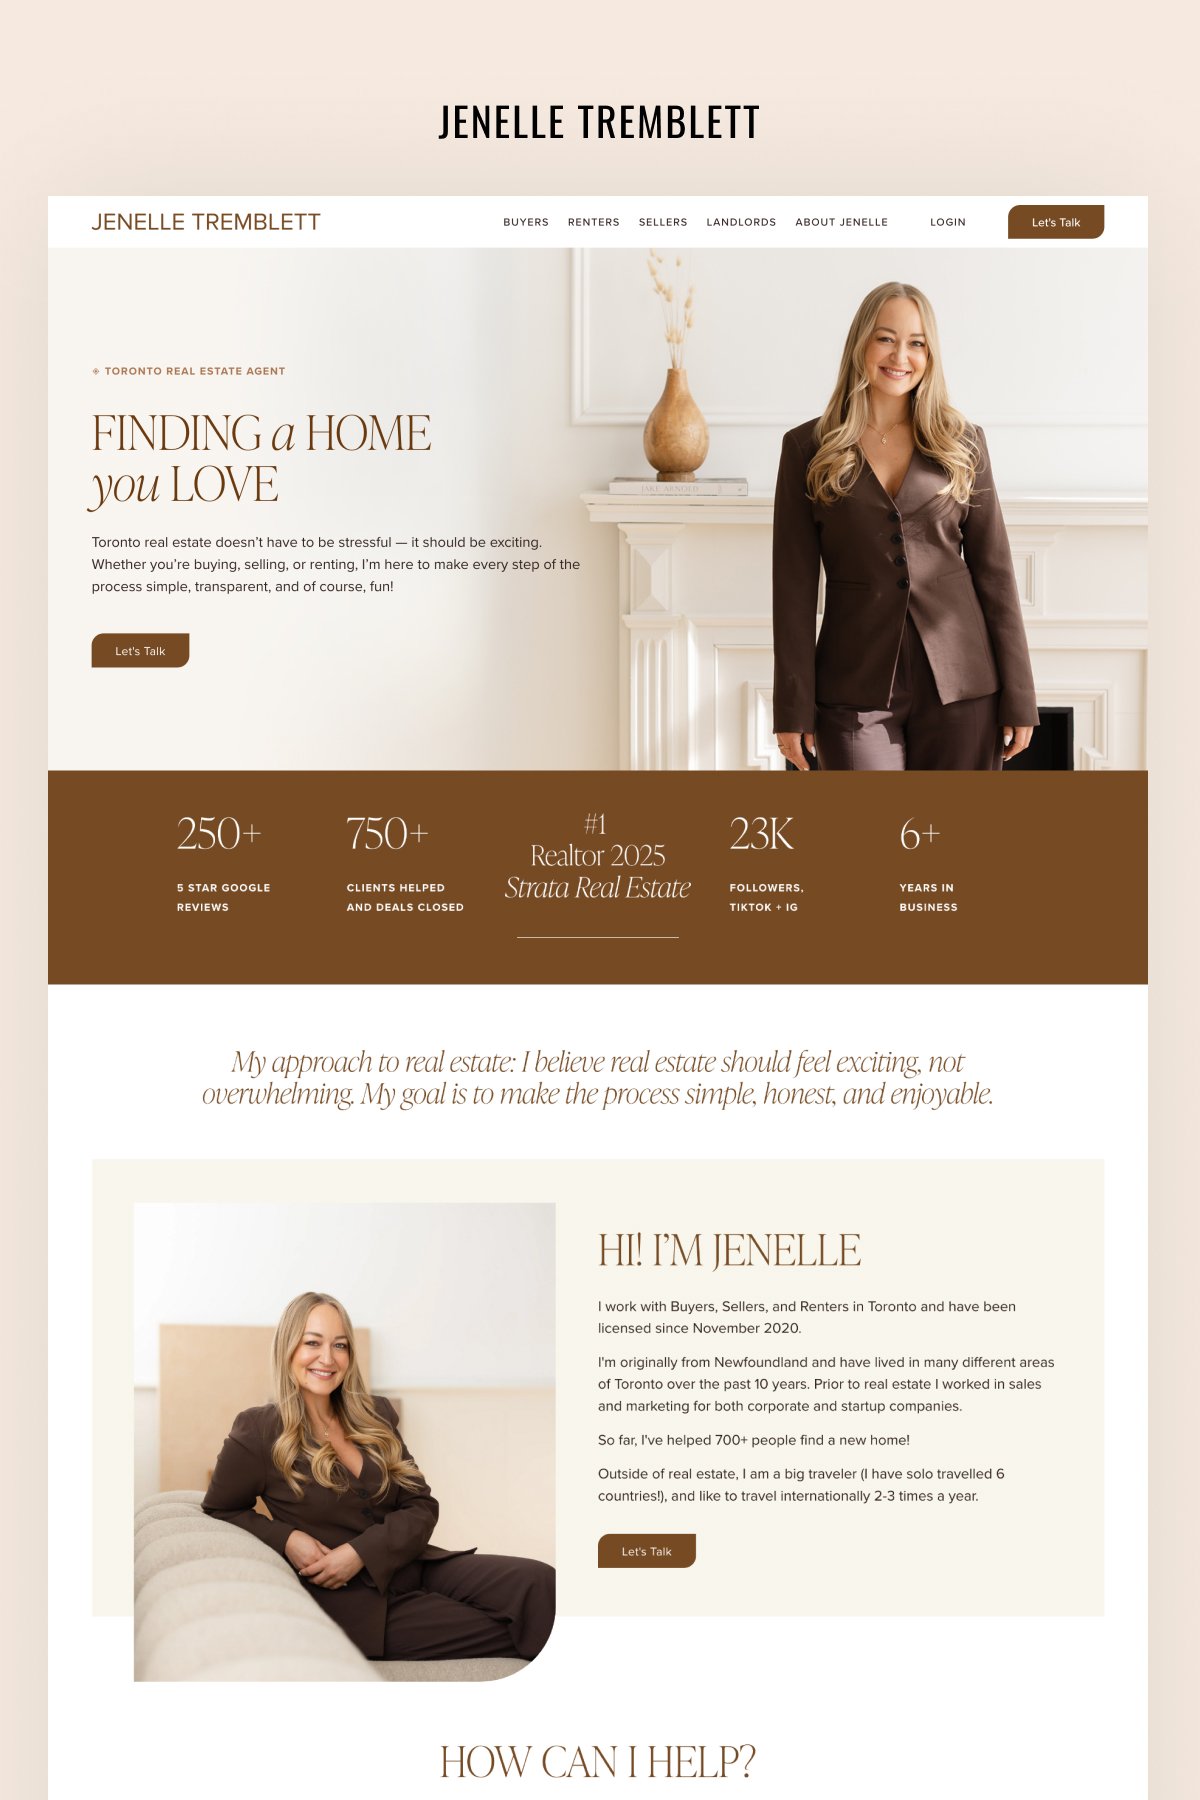
Curating images is a great brand exercise. After doing this, you will see what colors to choose as your brand colors. Squarespace gives us an option to choose three main brand colors in addition to black and white. Ideally, you need to find dark, light, and bright highlight colors - Squarespace will automatically generate 10 section colors themes that will match perfectly with your images. After setting up your initial palette, you’ll be able to go back to individual color settings and put in more colors. Here is more on how to choose colors for your brand.
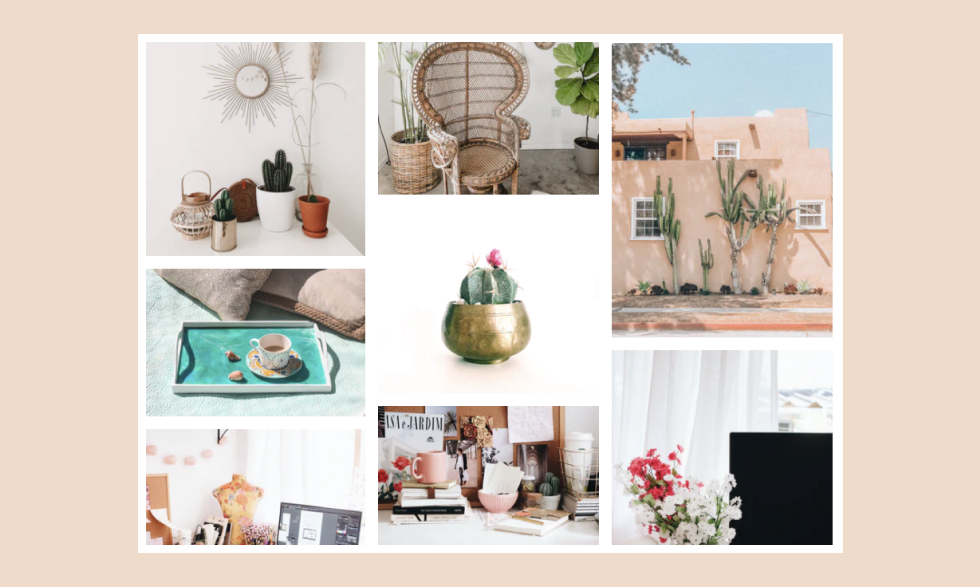
Squarespace template moodboard
Study the template and create a website wireframe
The next step is planning the layout of the future website - this step is often overlooked by newbie designers. The more work you put into planning, the stronger the foundation of the future design.
If we were starting from scratch, we’d draw the website wireframe. A wireframe is a high-level, undetailed website mockup created in grayscale. Wireframes are essential if you need to quickly sketch your layout to see the high-level design view of the website.
But since we are starting with a template, you already have a skeleton of the future site. So your next step is to study the template’s layout and mix and match its sections.
You can do this on paper or use graphic design software. Whatever works best for you.
Write your content in a Google Doc (or any text editing software)
Now that you have a high-level overview of the whole website, it’s time to get down to specifics.
Write content for each of the website sections. If you haven’t already downloaded our Click-Worthy website copy guide, please do so. This guide has a helpful cheat sheet that lists all of the possible and impossible website sections that we use in template designs as well as in custom projects. Plus this guide contains an extensive questionnaire for each of the sections and will help you write your website copy quicker and more efficiently.
Again, because we are starting from a template, you already know how much text is section is going to have. To maintain consistency, write as much text as you can spit out, but then edit it so that it fits the template’s layout.
Batch edit your website graphics and images using graphic design software
Most template designers will provide a source file that has a high-fidelity mockup of the site. Here at Applet Studio, we provide Figma files and tutorials to help you edit website graphics.
If you are starting from a default template, you can easily recreate a website mockup in any graphic design software you are comfortable with.
To sketch a website mockup for Squarespace, create an artboard inside your graphic design software that is 1440 px wide (the standard width for high-resolution desktop). Add a layout grid that has 12 columns, 100 px margin on each side, and a 20px gutter between columns. It can be just a series of rectangles that you “lock” to the artboard.
Squarespace uses a standard 12-column layout grid, which means all of the elements will fall into 12 column logic. By following the grid, you can edit your graphics and have them exactly as they will look in Squarespace. This will allow you to see the website as a whole, test different colors, fonts, and graphics without wasting your time.
Finally, you will be able to batch-edit graphics for all website pages which is going to give you a lot of headspace.

Squarespace layout grid example
Transfer your design/content to Squarespace
The final step is transferring your design to Squarespace - swapping images, copy, and somewhat altering the style settings.
It should be as easy for you as 1-2-3 because you already did most of the work. You prepared your content and you are just implementing your vision.
Tips for transferring your designs/copy to Squarespace:
I usually start by creating a set of folders on my computer with names of the website pages: Home, About, Services, Contact, etc.
Second step: I batch-export all my graphics from Figma. This includes exporting all backgrounds, images, and small details. I like to give all graphics descriptive names, which is good for SEO. Header and Footer content (like logos & favicon) goes into the Home folder.
Next - start creating or duplicating pages in Squarespace. What pages go to the primary menu? What links will be in the footer? Clean it all up.
After all your pages are in the right places, set up header and footer. Replace your logo and use style settings to make small adjustments like logo width or header color theme.
Start replacing the template’s content one page at a time. Replace background images, image layout content, text and links. Set up your social media accounts in Squarespace.
The final step is tweaking your style settings and troubleshooting any potential problems. Take a look at your website on mobile and tablet.
The key to success here is prepping all your graphics in proper sizes - which is easy to do as what you see in your Figma file is exactly what you will get in Squarespace!
While you are at it you might want to learn Squarespace 7.1 Features That Will Fast Forward Your Website Design Process.
My best advice: Change the template’s design as little as possible
There is no point in purchasing the designer template if you’re not leveraging the style. The most effective way to use a premium Squarespace template is to try and change as little as possible design-wise. This can be quite challenging, actually!
For example, change photos and copy, change only one highlight color in the palette and swap the main headline font with your own, but not mess the font sizes. Work on your content, not design.
Content is what brings you closer to the end goal - launching a website. Don’t get caught up in a design cycle! You can spend an eternity tweaking your design and still be dissatisfied with the result. Every time I catch a bug of perfection, I tell myself - you should find the simplest solution possible. Now, what is it? The best idea is always the simplest idea.
Did we convince you that a premium Squarespace template will simplify your life? Our Squarespace templates come with an amazing support package: template-specific tutorials, Squarespace training, including our signature class Squarespace Mastery, friendly email support and done-for-you installation.
If you’re hesitant about buying a template, start with our Squarespace Mastery class and upgrade to a template later at no extra cost.
Got questions? Send us an email or DM us on Instagram!