How to Move Your Website from Squarespace 7.0 to 7.1
Upgrade your website to the latest Squarespace version with minimal effort
Squarespace introduced Squarespace 7.1 back in 2020, and since then, everyone seems to be moving over to the new platform. And for a good reason.
While many features remained the same, including commerce, analytics, SEO, and some page types, version 7.1 introduced new functionalities that make the website-building experience more streamlined. In fact, there are three main reasons why people are transferring their websites over to Squarespace 7.1:
Versatile templates. Unlike version 7.0, there are no template families in 7.1. This means that all default templates in Squarespace 7.1 template shop have the same functions and styling options: pages are made of stacking sections that you can just place on top of each other and arrange as you want, and all styling options are available for all templates. Basically, you do not need to switch templates to get a new look or feature, as you have to in 7.0.
Streamlined design experience. In Squarespace 7.0, design settings were scattered all over the place, which was pretty confusing. You had to tweak the style settings for each of your blocks if you wanted to make a radical change in your website — for instance, changing the font of your paragraphs. In 7.1, design settings are grouped by fonts, colors, buttons, and so on, which means the whole styling process is much more automated. When you change your font for paragraphs, the change applies across the entire website, but you still can then make some adjustments to specific sections if needed.
Continuous improvement. Squarespace is putting a lot of effort into this new platform and is actively improving it. In fact, they have added a bunch of new features over the last year. Just recently, we’ve got list sections, FAQ blocks, scrolling blocks, a video library, and much more. So, if you keep up with their pace by transferring to the latest version, you can benefit from all the newest features and advanced settings.
The benefits of moving over to 7.1 are apparent, but unfortunately, Squarespace doesn’t offer a native solution to transfer a 7.0 website over to the new platform.
So, let me share a little tutorial on how to move your content without having to do everything from scratch.
A step-by-step tutorial to move your 7.0 website to Squarespace 7.1
Imagine the following scenario: you need to transfer your 7.0 coaching website, which has a pretty extensive blog, a shop for your courses, and several contact forms. Also, it’s linked to Google Analytics and Search Console.
Sounds challenging, right? Well, it doesn’t have to be.
For some time now, I’ve been transferring websites from Squarespace 7.0 to 7.1 with the help of a third-party plugin called SquareTools Extension PRO, which can make the process a lot easier. So, bear in mind you’ll need the extension to complete this tutorial.
Ready? Let’s dive in!
1. Create a new demo site in Squarespace 7.1 and delete all the content

First things first: go to your dashboard and create a new demo site on Squarespace 7.1.
Then, pick a template. As I’ve mentioned before, all templates include the same features, so any template will work as a starting point.
Go to the Pages menu and delete all the demo content. Luckily, you can do it with just one click using the plugin. When you install it, the button Delete DEMO Content appears over the list of your pages in the menu. Alternatively, you can delete each page one by one by clicking the bin icons next to them.
2. Move the pages using the plugin
You can use the SquareTools Extension PRO plugin to move entire pages to your 7.1 website. For instance, you want to move the Homepage.
First, you’ll need to go to your original website’s Pages menu.
Then, hover over a page you want to move and click Get collection data to make all your page’s data available in the extension.
Now go back to your new 7.1 website, find the plugin among your Chrome extensions, and select Create from data. Then click Confirm and wait until all the data is loaded.
That’s it! A new collection has been created. The extension automatically copies all the layouts and content, although you might find some style alterations that will need some tweaking later on. Repeat these steps to move all your pages one by one.
Pro Tip: Hold Shift when clicking Create from data if you want your page to appear in the Not Linked section. Otherwise, it will appear in the Main Navigation.
3. Move the blog and shop archives
Moving the shop
The process of moving your shop page is the same as for any other page: click Get collection data next to the page on your current site.
Then, go back to the new site, click Create from data in the plugin, and then Confirm.
Every product of your shop will move over to your new website.
Note: A new first section with demo content might appear in your shop, but we will fix this later in the tutorial.
Moving the blog
The process of moving the blog is similar: on your current site, click Get collection data, then go back to the new site and click Create from data in the plugin.
At this point, you’ll have an additional option to select the collection type you need for your blog: side by side, single column, masonry, basic grid, or alternating side by side.
Pick the layout you want and click Confirm.
Et voilá! The plugin will load everything into your new site, including blog posts and featured images.
Although the plugin is handy and automates the process of transferring the content that we would otherwise need to do manually, some aspects of your pages may be off when they land on the new platform, such as the typography and colors, your header and footer, and so on.
Let’s see how we can tweak that to make your new website look as good as the original one.
4. Set up the typography
Go through your entire original 7.0 website and see which fonts you’re using and where.
Once you’ve done that, you’ll need to reapply them manually. So, go to your new 7.1 site, open Design > Site Styles > Fonts.
Under the Global Text Styles section, check that the Headings, Paragraphs, Buttons, and Miscellaneous categories have the correct fonts. If not, change them. Also, check out the Assign Styles section to have control over the fonts in your website’s header. Remember that this will automatically change fonts across the entire website for the selected category, saving you a whole bunch of time.

5. Set up colors

Start by grabbing all the colors from your original site manually from the Styles section on your Squarespace 7.0 website. When you click the color in this menu — say, the color of a button — you will see your color in HSL format. It looks something like this: HSL(15, 100%, 87%). Alternatively, you can run your colors through Figma to get the color codes. For this, take screenshots of your website, upload them to Figma, and use an eyedropper tool to learn the Hex codes of the colors.
Then, go back to your 7.1 website, go to Site Styles, click Colors, and then add your colors manually in the Color Palette section.
The color palette in Squarespace is quite intuitive: you have a light color, a dark color, a highlight in the dark color, and then white and black. If you follow this pattern, Squarespace 7.1 will automatically create color themes for you to use.
6. Set up a header
Header settings in 7.1 are a bit different from 7.0. To access them, hover over the header on any of your website’s pages, click Edit, and then Edit site header.
There, you can add your logo and choose the header layout (aligned to the right, left, and so on). Also, in the Elements section, you can enable and disable buttons, social links, and a cart in your header.
However, if you want to add an announcement bar, you’ll need to go to Marketing in the main editing menu. You can enable it from there and add your message and a link.
Tweak the elements of the header until it looks like your original website, and then save your changes.

7. Set up footer
The only way to rebuild the footer in your new 7.1 site is to do it manually by hovering over your footer in the page editing mode on any of your pages and clicking Edit, and then scrolling down to click Edit footer.
You’ll have to build it up from scratch using Squarespace’s blocks to add navigation, social, links, text, spacers, change the colors and fonts with Site Styles, and so on.
8. Set up image blocks, buttons, and other design elements
Once you’ve done all the heavy lifting, it’s time to look at the details.
Check each page and identify sections that look a bit off. Set up and style any blocks, buttons, and sections that may have gone missing, and make sure they’re the correct size.
Go through the Site Styles settings for each section. Compare those settings with your original website and make all the necessary changes in terms of styles, colors, fonts, spacing, and size.
In Squarespace 7.1, there’s a native solution to control the width and height of the sections, so check all your sections and remove redundant spacers you have used for this. Then click the pencil tool at the upper right corner of each section to look into the format settings and set the height, the width, and the alignment of your content. Check out this tutorial if you need more guidance.
Don’t forget to save your changes regularly, while you are working!

9. Clean up the Shop and the Blog pages
Now come back to your Shop and Blog to fix them. You can delete demo sections and add yours.
Then, click Edit on the Blog page and click the pencil in the upper right corner of the section with your blog posts to access the layout, as well as many other settings. The same is applicable to the Shop.
10. Create a URL map and rename your URLs
URL slugs are a crucial aspect of your SEO, so you need to keep them organized. Start by looking at all your original website pages and the URLs they are using. Find a little gear icon next to the name of every page in the Pages menu. This way, you will access Page’s settings. Now in the first tab – General – you will find your URL slug. Copy and paste it to the corresponding page of your new Squarespace 7.1 website. Go through all of your pages to make sure the URL slugs of your old website match the URL slugs of your new website.
And if you rename the slugs on purpose, you can use URL mapping to tweak any URL changes. The option to set up the redirects resides under Settings > Advanced> URL Mapping.
11. 404 page
To set up your 404 page, create a new page in the Not Linked section.
Build it from scratch, add a 404 error message, and style it the way you like.
Then, go to Design, click the 404 page, and select the page you just created as your 404 page.
This way, anyone who accidentally lands on a non-existent page of your website will get a 404 message. You have a chance to make them keep browsing instead of potentially losing them.
11. Configure forms
We’ve already moved the contact page of your website, but now we need to set up the form and make sure it works.
To do that, click Edit page, click the pencil icon that hovers over the Form block, and in the Storage tab, you can connect the form to your email address or Mailchimp, Google Drive, and Zapier.
Also, check out the Content and Design tabs of the settings: you can change the form’s name and the button text and edit the fields to make sure it looks just like your original website.
12. Marketing set up (Google Analytics, Facebook Pixel, and Search Console)
It’s essential to transfer your Google Analytics and Search Console keys. You also need to set up Facebook Pixel even if you don’t run ads there yet, because if you ever decide to do so, you’ll have already collected a whole bunch of valuable data.
To set up Google Analytics, go to Settings, click Advanced, and then External API Keys. There, you can add your measurement or tracking ID to Google Analytics.
In that section, you can also set up Google Recaptcha.
You can set up Search Console only after you’ve purchased a new subscription.
13. Purchase a subscription and move your domain
Once all this work is done, you need to purchase a new subscription and move your domain.
To purchase a new subscription, go to Settings, then Billing, and then click Upgrade. If you had a yearly subscription on your old website and you didn’t use it all up, you can email Squarespace support and ask for a pro-rated discount for your new site.
If your domain name is hosted on Squarespace, the process is relatively straightforward: go to your old website, go to Settings, click Domains, and follow the instructions from there.
Then, after you transfer the domain name, go to Site availability in Settings and set it to public.
And that’s it! You’ve successfully transferred your site over to Squarespace 7.1. Easy, right?
While it still involves a lot of work, using the SquareTools Extension PRO plugin and Squarespace 7.1 new streamlined design features makes the whole process a lot easier — way easier than transferring the entire website manually, that’s for sure.
If you not only want to move your website to the newest version of Squarespace but also refurbish it along the way, good idea is to buy a Premium Squarespace template. When you buy a template from our shop we transfer your blog archive and shop to the new template for free. All you need to do is to fill up the template with your images and copy.
Let us know in the comments if this tutorial was helpful and how your transfer process is going!
Creative Workshop Series for Squarespace
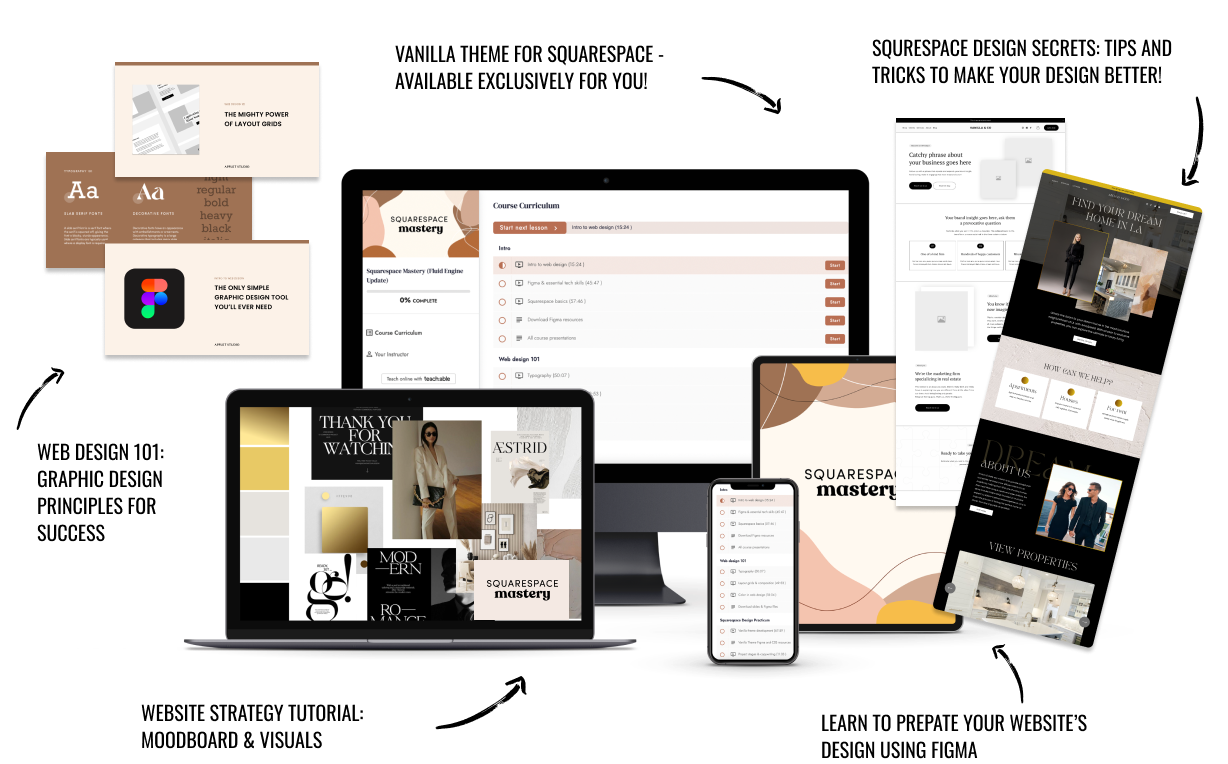
The workshop is jam-packed with design goodness. Inside, you’ll find the following topics:
What size should I design for? Responsive layouts and industry standards
Typography 101: How fonts can elevate your design & look professional
My approach to using colors in web design
Complete Figma tutorial
How to use layout grids to direct the attention of your website visitors
How to create a mood board and plan your website visuals
Squarespace Vanilla theme build-out: Complete walk-through, CSS snippets and Figma wireframe
Massive Squarespace design practicum: We go from a mood board to a finished design on Squarespace in a matter of an hour. Two designs included along with CSS plugins and Figma templates
Redesign 2 real websites with me in real time
How to grow as a designer and how to look for creative inspiration
Plus, there are some really helpful documents included: Complete Squarespace development checklist, copywriting and branding guides, sample client questionnaire and so much more!